
Text to Columns - Excel
john lilleystone • February 29, 2020
Separate data into columns using Excel
From time to time you may get sent some data in a text file which you want to import into Excel. The trouble is the data is only separated by a comma (or another delimiter) and all appears in one cell in Excel when you open it. Use the Text to Columns feature to chop up the data into separate columns.
Here's an example. I've received some data in a text file and I need to have the data in separate columns in Excel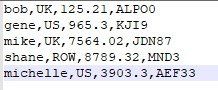
When I open the text file in Excel, the Text Import Wizard will automatically run (you can invoke it manually using the Ribbon too).
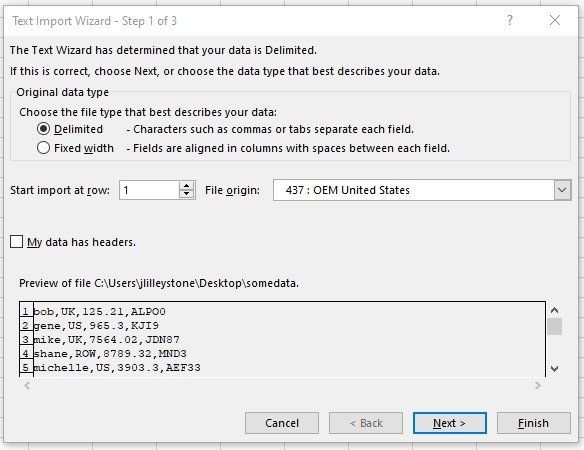
By default, the Delimited radio button is selected (you can change it to be fixed width if that's appropriate) click Next to continue.
Here you can tell the wizard what delimiter to use - in our case the delimiter is a comma so I will check that box. If your data is separated by a different delimiter you can do it here. As I check the comma box, the data in the preview window is updated.
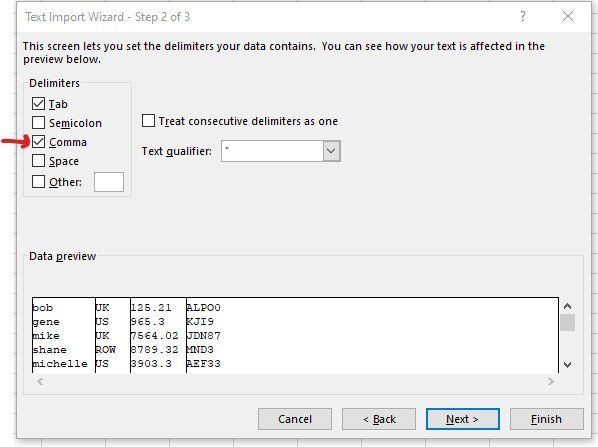
Click Next to go to the last step in the process where you can define data types for each column (so if one column contains dates you would highlight that column and check the Date format radio button). If there are columns that you don't want to import, again you can highlight the appropriate column and tell the wizard to skip it. Click Finish to run the process
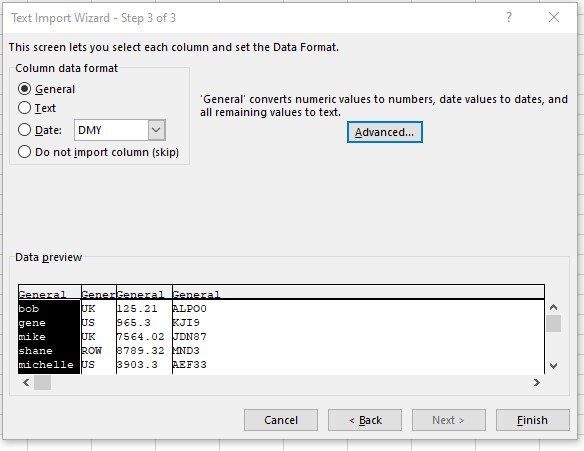
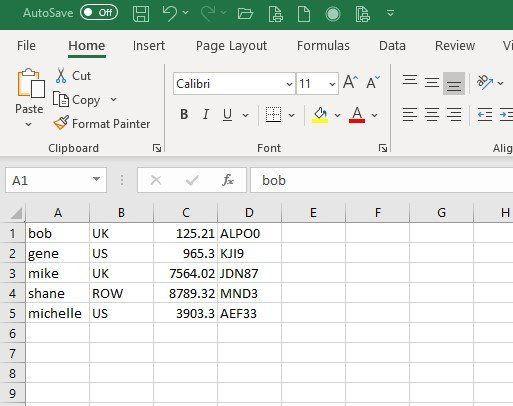
Voila! Your data will now be separated into nice manageable columns.


Replace ugly Excel errors returned by a formula with something more appropriate and pleasing to the eye.


Use the RANDBETWEEN function in Excel to randomly generate numbers between a specified upper and lower threshold.

Don't waste time manually editing queries to move the date period on one month. This blog explains how to use DATEADD to dynamically shift the dates on one month on each refresh


Extract values or strings from a cell from either the left, middle or right part of the cell
